
How to Remove Fake Tan: The Ultimate Guide

How to Remove Fake Tan: The Ultimate Guide
Fake tan is one of the easiest ways to achieve a beautiful bronzed glow without sun exposure. But sometimes things don’t go exactly as planned.
Whether your tan has gone patchy, developed darker than expected or simply reached the end of its life cycle, knowing how to remove fake tan safely and effectively can help you reset your skin and prepare for your next flawless glow.
In this guide we’ll cover the best ways to remove fake tan, how to deal with stubborn patches and how to prepare your skin for your next tan.
Why Fake Tan Needs to Be Removed
Fake tan works by using DHA (Dihydroxyacetone) to temporarily darken the outer layer of your skin.
As your skin naturally renews itself, the tan fades. However, if the skin sheds unevenly or becomes dry, the tan can sometimes appear:
• patchy
• streaky
• darker in certain areas
• uneven on hands, elbows and knees
Removing old tan properly helps restore smooth skin and ensures your next tan develops evenly.
Step-by-Step: How to Remove Fake Tan
If you want to remove fake tan quickly and safely, following a simple routine can make the process much easier.
Step 1: Apply a Tan Remover or Oil
Before exfoliating, apply a tan remover or oil to dry skin.
Tan remover products are designed to help break down the DHA pigments on the surface of the skin, making the colour easier to remove.
Allow the remover or oil to sit on the skin for several minutes before showering so it can begin loosening the old tan.
Step 2: Soak the Skin in Warm Water
Warm water helps soften the outer layer of skin and prepares it for exfoliation.
Spending around 10–15 minutes in a warm shower or bath helps lift the colour and makes removal much easier.
Step 3: Exfoliate with a Remover Mitt
Once the skin has softened, gently exfoliate using a tan remover mitt.
Using a remover mitt helps lift away the dead skin cells that hold the tan pigment.
Use circular motions and focus on areas where tan tends to build up such as:
• elbows
• knees
• ankles
• wrists
• hands
This helps remove stubborn colour while smoothing the skin.
Step 4: Use a Body Exfoliator
A gentle body exfoliator can help remove any remaining tanning residue.
Using an exfoliator together with a remover mitt helps break down old tan more effectively while leaving the skin feeling soft and refreshed.
Exfoliating also prepares your skin for your next tan application.
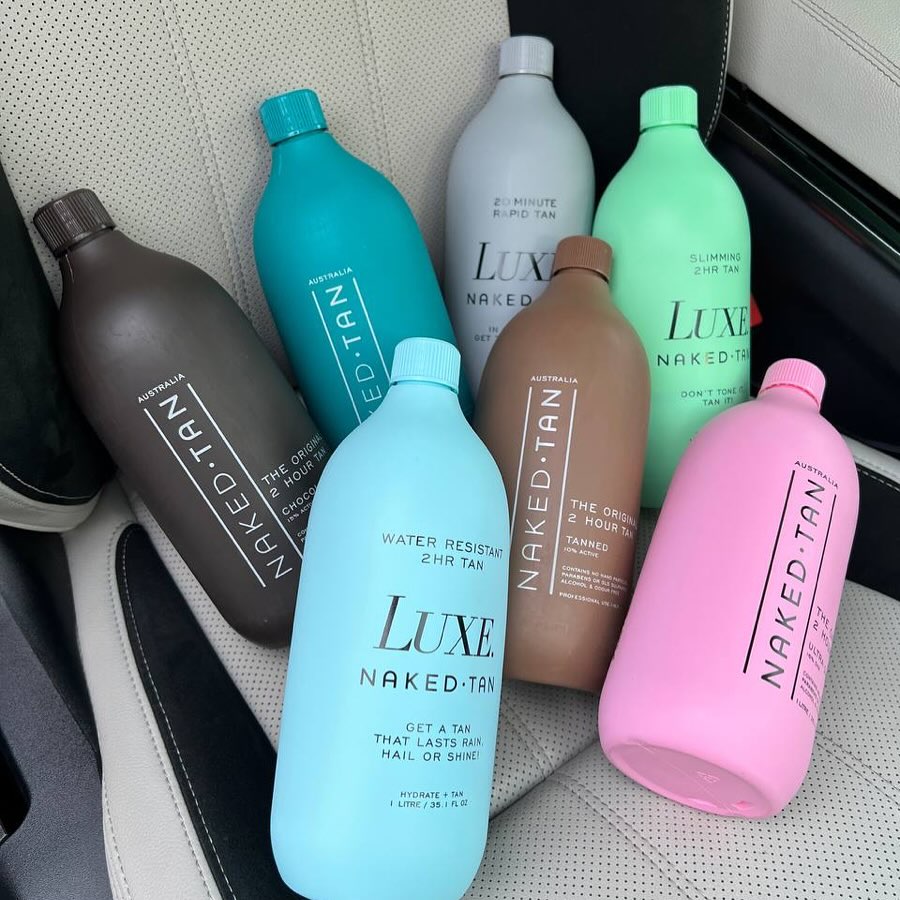
The Best Products to Help Remove Fake Tan
Using the right tools can make removing fake tan much quicker and easier.
A good removal routine often includes:
• a tan remover or oil to loosen the colour
• a remover mitt to exfoliate dead skin cells
• a body exfoliator to smooth and refresh the skin
These products help remove old tan while keeping your skin healthy and ready for your next glow.
How to Remove Stubborn Fake Tan
Sometimes fake tan can cling to certain areas longer than others.
Common areas where tan builds up include:
• hands
• feet
• elbows
• knees
For stubborn areas, soaking the skin in warm water before exfoliating can help soften the colour.
Using a remover mitt and gentle exfoliator can help gradually lift the remaining tan without irritating the skin.
Natural Ways to Help Remove Fake Tan
Some people prefer natural methods to help remove fake tan.
Gentle exfoliation methods such as body scrubs or exfoliating gloves can help speed up the natural fading process by removing dead skin cells.
However, it’s important to exfoliate gently to avoid irritating the skin.
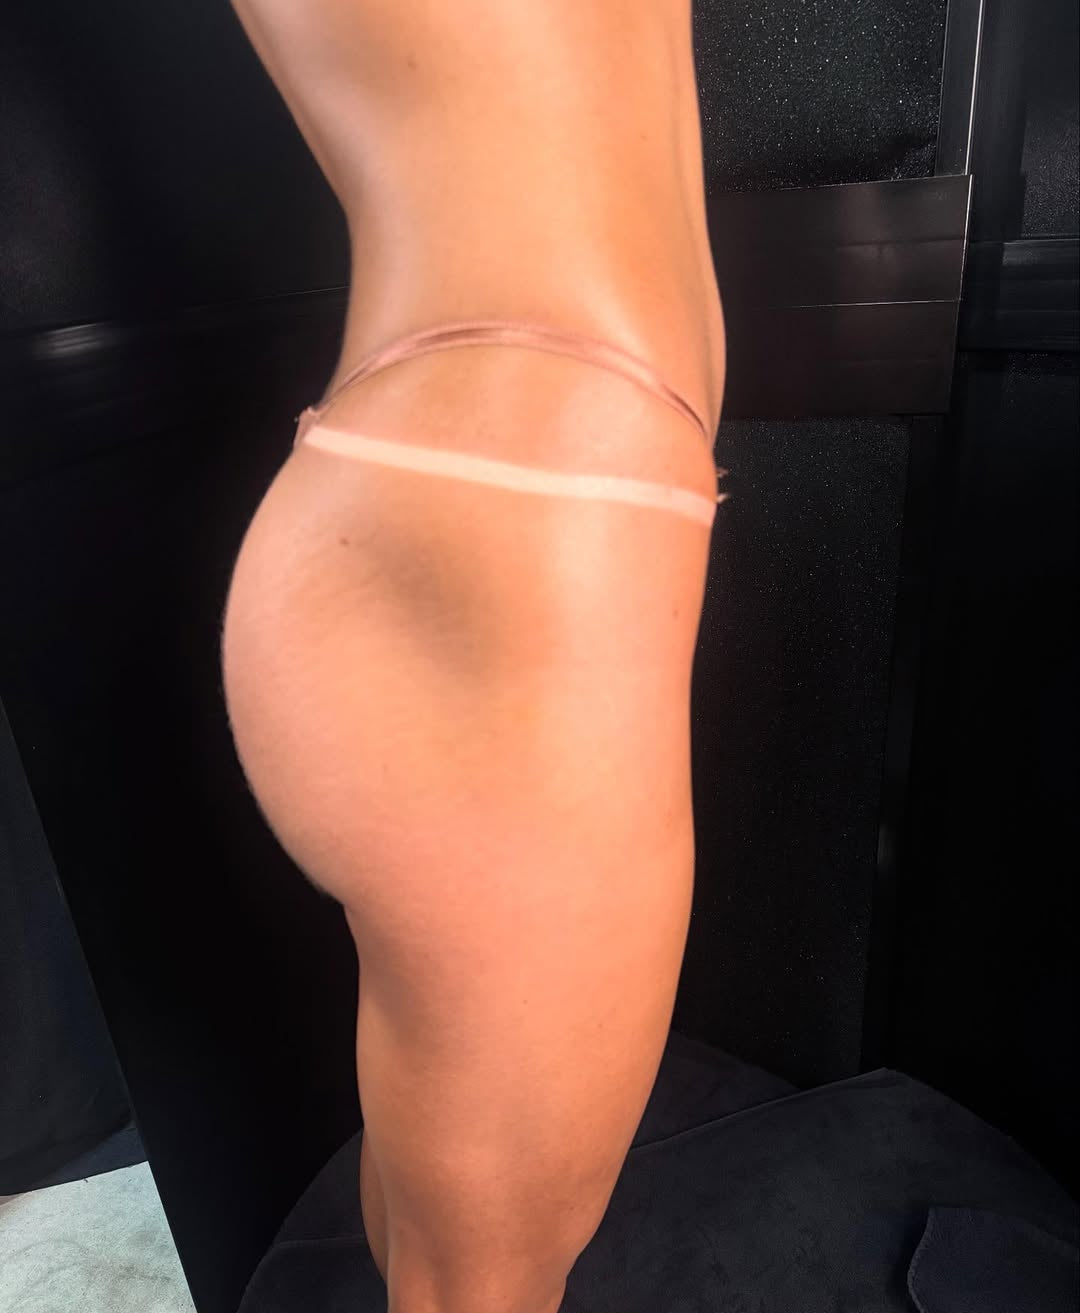
How to Avoid Patchy Fake Tan Next Time
Removing fake tan properly helps, but preventing patchiness in the first place is even better.
Here are a few tips for smoother results next time.
Exfoliate Before Tanning
Removing dead skin cells before tanning ensures the product applies smoothly and evenly.
Moisturise Dry Areas
Dry areas such as elbows and knees absorb more product. Applying a small amount of moisturiser beforehand can help prevent darker patches.
Choose High Quality Tanning Products
Higher quality formulas often contain premium DHA and balanced undertones, helping create a more natural-looking colour that fades evenly.
Preparing Your Skin for Your Next Tan
Once your old tan has been removed, it’s the perfect time to prepare your skin for a fresh application.
For the best results:
• exfoliate gently
• keep skin hydrated
• avoid heavy products before tanning
Healthy, hydrated skin allows tanning products to develop more evenly and last longer.
Why Professional Spray Tans Fade More Evenly
Professional spray tanning can often produce more even fading compared to many at-home tanning products.
This is because the tanning solution is applied evenly by a trained technician and professional formulas are designed to develop smoothly across the skin.
Many clients find that professional spray tans:
• develop more evenly
• look more natural
• fade gradually rather than patchily
Reset Your Glow and Start Fresh
Removing old fake tan is a simple step that helps keep your skin looking fresh and ensures your next tan develops perfectly.
Whether you're preparing for a professional spray tan or applying self tan at home, starting with clean, exfoliated skin is the key to achieving a smooth, natural-looking result.
Fake Tan Removal FAQs
How long should I wait before removing fake tan?
Most fake tans begin fading naturally after 5–7 days, but you can remove them earlier if needed using exfoliation and tan remover products.
Can I remove fake tan in one shower?
Light tans may remove quickly, but deeper tans may require a few rounds of exfoliation to fully lift the colour.
Why does fake tan go patchy?
Patchiness usually occurs when the skin becomes dry or when the tan fades unevenly as skin cells naturally renew.
Should I remove old tan before applying a new one?
Yes. Removing old tan first helps ensure your new tan develops evenly and looks more natural.
What is the easiest way to remove fake tan?
The easiest method is using a tan remover or oil followed by exfoliation with a remover mitt and body exfoliator.

Comments